 Download
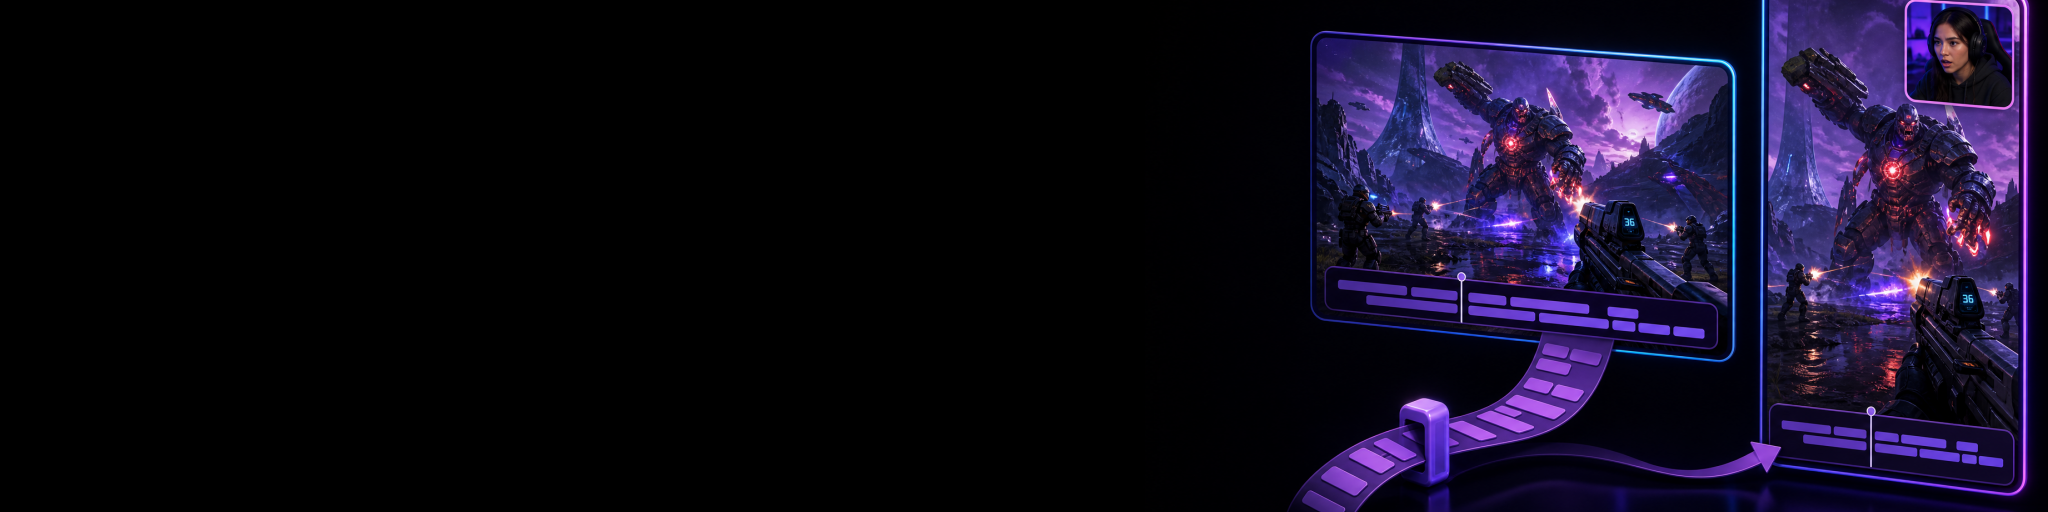
Yes, you can record horizontal and vertical gameplay at the same time. The useful version of this setup is not simply recording a 16:9 file and cropping it later. It is creating two separate canvases from the same gameplay moment: one wide version for YouTube, VOD highlights or standard uploads, and one portrait version designed for TikTok, YouTube Shorts and Reels.
That approach lets you frame the action properly for each platform from the start. Your horizontal recording can keep the full game view, while the vertical recording can enlarge the important action, place a facecam where it does not cover the HUD and leave room for captions. You play once, capture once and end up with footage that is much closer to publish-ready on both formats.
What simultaneous horizontal and vertical recording actually means
A simultaneous setup takes the same core sources—gameplay, webcam, microphone and audio—and sends them to two differently sized compositions. The horizontal canvas is usually 16:9, such as 1920×1080. The vertical canvas is usually 9:16, such as 1080×1920.
The important word is independent. A vertical version should be designed around a narrower viewing area, not treated as an afterthought. In a fast shooter, for example, you may enlarge the central gameplay region in portrait while keeping your facecam above it. In a strategy or RPG clip, you may use more of the tall frame for subtitles, a reaction camera or a second supporting visual.
- Horizontal 16:9: full gameplay view for YouTube videos, longer highlights, streams and standard uploads.
- Vertical 9:16: a portrait-first composition for Shorts, TikToks and Reels.
- One shared moment: both files begin from the same play session, so you do not need to recreate the highlight later.
- Different layouts: source size, position and visibility can change between the two outputs.
Why cropping one recording later is often not enough
Cropping a horizontal recording into a vertical frame is fine when the subject stays near the middle and there is very little on-screen information. Gaming footage often does not cooperate. Important enemies, teammates, map elements, subtitles, kill feeds and objective markers may sit close to the edges of a widescreen image.
A late crop can leave you choosing between cutting off the action, making the game view too small, or covering useful information with captions and a facecam. That is why it helps to decide on the vertical composition before you start playing. For practical framing examples, see how to make vertical gaming clips without cutting off the action and safe zones for captions, facecams and overlays.
Three ways to capture both formats
1. Use software with independent horizontal and vertical canvases
This is the cleanest route if your goal is regular multi-platform publishing. Set up one landscape canvas and one portrait canvas, add the sources you need to both, then arrange those sources independently. Your gameplay may occupy the full 16:9 output while the portrait version uses a tighter game view plus a facecam and caption area.
Cutscene Replay is built around this creator workflow: it can capture horizontal and vertical versions of the same moment with independent canvas compositions. The practical advantage is that you do not have to record the entire session twice or repeat the same layout work for every good clip. It is particularly useful when YouTube uploads and short-form posts are both part of your normal schedule.
2. Build two output workflows in OBS
OBS Studio is a flexible option if you are comfortable configuring scenes, sources and outputs. Depending on your workflow, creators may use separate OBS instances, a dedicated vertical-output tool or plugin, or another multi-output method. The trade-off is setup and testing: you need to make sure both recordings are stable, use the intended sources and remain in sync.
OBS can record while streaming, supports separate recording settings in its output controls and can remux recordings for easier editing or upload workflows. OBS also recommends MKV as a safer recording container if recording stops unexpectedly, with remuxing available afterwards when you need MP4. ([obsproject.com](https://obsproject.com/kb/standard-recording-output-guide?utm_source=openai))
3. Record a high-resolution master and make vertical edits afterwards
This can work for slower-paced games, tutorials and content where the important action stays centred. Capture a sharp horizontal master, then make each vertical edit manually. It gives you flexibility, but it also means more time spent reframing every individual clip—and it does not solve the problem when your game HUD and action spread across a wide screen.
Choose this route when you only occasionally need portrait clips. If vertical content is a routine part of your output, a purpose-built dual-canvas workflow usually removes a repeated editing job.
How to set up your two layouts
Start by planning the horizontal and vertical versions as separate deliverables. Do not begin with resolution settings alone; begin with what a viewer needs to see in each format.
Build the horizontal canvas first
Your 16:9 layout is normally straightforward: gameplay fills the screen, with a facecam or alerts positioned away from essential HUD elements. Keep it clean enough that it works for a longer YouTube video, a highlight compilation or a normal stream recording.
- Use your intended landscape resolution and frame rate, commonly 1920×1080 at 60 FPS for fast gameplay.
- Keep the game source at its native aspect ratio; avoid stretching it to fill a frame.
- Place facecam, labels and alerts away from maps, health bars, subtitles and score information.
- Capture at a quality that leaves room for trims, zooms and colour adjustments later.
Design the vertical canvas around the game, not around the empty frame
For the 9:16 version, identify the part of the game viewers need to follow. In many games, that will be the player character, crosshair and immediate combat area. Scale and position that area deliberately. Then use the remaining vertical space for a facecam, captions or a complementary background treatment if it helps the clip read quickly.
Avoid shrinking the entire 16:9 game capture until it fits inside a tall frame with large empty bars. It may technically be vertical, but it usually looks like a repost rather than content made for vertical viewing.
- Keep the key action in the centre column of the portrait frame.
- Check whether maps, ability indicators, chat and kill feeds remain visible.
- Reserve a predictable caption area that does not obscure important gameplay.
- Use a different facecam position or size from the horizontal layout when necessary.
- Test with actual busy gameplay, not only a static menu or lobby scene.
Keep the two recordings aligned
If both files are captured from the same workflow, alignment is much easier. You can review the same match, round or reaction in both formats without hunting for a second recording. This matters when you want to publish a wide highlight and a vertical teaser, or make different edits of the same moment.
Use consistent naming where possible: include the date, game and time in both filenames, then label the formats clearly—for example, valorant-2026-09-01-2140-horizontal and valorant-2026-09-01-2140-vertical. A clip library or organised folder structure makes it much less likely that you edit the wrong version.
Performance: what changes when you record two versions?
Two outputs require more work than one. Your system may be rendering, scaling and encoding two compositions at once, on top of running the game and possibly streaming. The exact impact depends on the game, GPU, encoder, resolution, frame rate, scene complexity and whether you are also using browser sources, filters or capture devices.
The safest approach is to begin conservatively, make a short test recording in a demanding section of a game and inspect the footage before committing to a long session. Do not judge performance from an idle menu: quick camera movement, particle effects and busy fights are the moments most likely to expose a weak setup.
- Prefer a hardware encoder where your system supports one, so recording is less dependent on CPU headroom.
- Start at 1080p60 horizontal and 1080×1920 vertical only if your system can handle both cleanly.
- If performance suffers, reduce scene complexity before lowering frame rate or image quality.
- Avoid lossless recording unless you have a specific reason and plenty of fast storage; it can create extremely large files.
- Record a short stress test, then check for dropped frames, encoder overload warnings, audio drift and corrupted footage.
OBS notes that recording quality choices can increase resource use, and its encoder preset guide warns that lossless recording produces exceptionally large files. For a deeper explanation of encoder trade-offs, read how to choose between hardware and software encoders, then use these replay buffer settings for 1080p 60 FPS gameplay as a practical starting point for clip capture.
Audio: keep it simple now, keep options open later
Your horizontal and vertical videos can use the same underlying audio mix, but the best recording workflow often keeps key sources separable. If you later need to reduce loud game audio, remove a Discord interruption or raise your voice for a short-form edit, separate tracks are far more useful than one permanently mixed track.
In OBS, separate audio tracks can be assigned in Advanced Audio Properties and enabled for recording output. OBS also advises keeping a combined track if you want ordinary players to play back all sources together, because many players only play one audio track at a time.
If you want to edit game audio, voice chat and your microphone independently, use this guide to recording game audio, voice chat and microphone on separate tracks. It is a useful companion to dual-format capture, especially when your YouTube edit and your Short need different pacing or audio balance.
Use replay capture if you do not want full-session recordings
You do not always need to record every minute you play. A replay buffer keeps a rolling window of recent gameplay so you can save a highlight after it happens. That can be a better fit for spontaneous clips: hit a hotkey after a great round, save the recent segment and keep only the moments worth reviewing.
For creators publishing in both formats, the ideal workflow is a replay system that saves matching horizontal and vertical clips from that same recent moment. It reduces storage compared with keeping full sessions and gives you two usable starting points whenever something happens. This replay buffer guide explains how to save the last 30 seconds of gameplay, while this storage guide helps you estimate the space your chosen buffer length may require.
A practical workflow from match to post
- Set up a 16:9 canvas for full gameplay and a 9:16 canvas for short-form viewing.
- Add gameplay, facecam and audio sources to the relevant outputs.
- Compose each layout independently; do not rely on a last-minute portrait crop.
- Run a five-to-ten-minute test in a demanding game scenario.
- Check both recordings on the device or editor you actually use.
- Save or mark strong moments as you play—ideally with a replay hotkey if you are clipping rather than recording full sessions.
- Trim the horizontal and vertical versions for their platforms rather than forcing identical pacing.
- Add captions only after checking that they do not hide HUD information or the action.
- Export each format at its native aspect ratio and review it on a phone before posting the vertical version.
Common mistakes to avoid
- Using the same composition for both formats: the portrait output should make a deliberate viewing choice, not just inherit the landscape layout.
- Testing only in a lobby: test during actual combat, movement and effects-heavy scenes.
- Overloading the scene: extra widgets, animated overlays and duplicate filters can hurt performance without improving the clip.
- Forgetting the vertical HUD check: a crop that looks fine at first can hide the very information that explains the moment.
- Recording only a mixed audio track: it leaves you fewer options when a short clip needs a different balance.
- Publishing an unreviewed phone crop: vertical content should always be checked on a phone-sized display before upload.
Is simultaneous dual-format recording worth it?
It is worth it when you regularly make both long-form and short-form gaming content. The time saving does not come from pressing record once; it comes from avoiding repeated reframing, duplicate capture sessions and the compromise of trying to make one widescreen file work everywhere.
If you only make a vertical clip once in a while, a good horizontal recording and a careful edit may be enough. But if every strong match could become a YouTube highlight plus a TikTok, Short or Reel, capturing independent 16:9 and 9:16 versions from the beginning gives you a much more reliable workflow. Pair that with a plan to turn one gaming session into content for every platform, and you can create more usable posts without spending more time replaying the same game footage.

Capture both formats from the same moment
Try Cutscene Replay when you want horizontal and vertical gameplay clips with separate layouts, ready to review and edit without recording the session twice.
The bottom line
To record horizontal and vertical gameplay simultaneously, create two purpose-built outputs: a 16:9 version for wide video and a 9:16 version for mobile-first posts. Give each one its own layout, test your system under real gameplay load and keep the important action, audio and overlays flexible enough to edit later. The result is not just two files—it is a faster route from a great in-game moment to content that actually fits each platform.