 Download
The safest place for captions, facecams and overlays is not one fixed corner. It depends on the game’s HUD, the format you are exporting and the platform controls likely to sit over the video. The practical rule is simple: protect gameplay information first, then use the remaining space for creator elements.
For most gaming clips, keep your main caption block away from the lower edge, avoid covering the minimap and health/ammo display, and do not place a facecam where it hides the crosshair, centre-screen action or kill feed. In vertical clips, this usually means planning the entire frame rather than simply cropping a horizontal recording and adding text afterwards.
What “safe zone” means in a gaming clip
A safe zone is an area where an added element can stay visible without covering something the viewer needs. In a gameplay edit, that could be empty scenery, sky, a wall, an unused side panel or deliberately created space around a reframed subject.
It is different from a platform safe zone. Platform safe zones are about keeping important text away from app buttons, captions, descriptions and interface chrome. Gaming safe zones are about protecting the game itself: HUD elements, information panels and the action that explains why the clip matters.
You need to account for both. A caption can avoid the game’s HUD but still end up behind a Short-form app’s bottom controls. Likewise, a facecam may be clear of platform UI but cover a minimap that makes the play understandable.
The gameplay areas you should protect first
Before adding any text or overlays, watch the raw clip once and identify the information that changes the viewer’s understanding of it. The exact layout varies by game, but these areas commonly deserve priority.
- Centre-screen action: Crosshairs, targets, ability effects, prompts and the moment of impact often happen here. Treat the centre as protected unless the game has a consistently quiet middle area.
- Minimap or tactical map: Usually in a top corner. Covering it can remove the context behind a flank, rotation, escape or final-circle decision.
- Health, armour, ammo and abilities: These are often along the bottom edge or lower corners. They explain clutch moments, reload mistakes and low-health wins.
- Kill feed, score and objective status: Often at the top or upper side of the frame. These can confirm who was eliminated, whether a round ended or why a reaction happened.
- Subtitles and dialogue: Story-driven games may already use the lower third for dialogue. Do not stack your captions directly over in-game subtitles.
- Interaction prompts and inventory panels: In slower games, brief prompts or menus can be the point of the clip. Leave room for them when they appear.
The key is to protect the information that matters in that moment, not every possible HUD element at all times. A small facecam can temporarily use a normally busy corner if the game’s information there is irrelevant during the clip. But make that choice after reviewing the footage, not by relying on a universal template.
A simple priority order for every clip
When the frame feels crowded, decide what wins. This order prevents most avoidable placement mistakes:
- The gameplay event the viewer came to see.
- Information needed to understand that event, such as health, ammo, map position or score.
- Existing in-game dialogue or subtitles.
- Your spoken or edited captions.
- Facecam, alerts, labels, branding and decorative overlays.
That does not make captions or facecams unimportant. It means they should support the moment rather than compete with it. If a reaction facecam is the reason the clip is entertaining, it may deserve more space—but the actual gameplay still needs to be readable.
Caption safe zones for horizontal gameplay videos
In a 16:9 gameplay clip, the lower third is the familiar caption position, but it is also where many games place health, ammo, ability cooldowns and dialogue. Instead of automatically centring captions at the bottom, look for a stable clear area first.
Good horizontal caption placements
- Upper-middle: Useful when the bottom HUD is busy and the kill feed is absent or unimportant. Keep the text compact so it does not cover the main action.
- Lower-middle, raised above the HUD: Often the most natural option when there is a strip of usable space between the action and bottom interface. Raise captions enough that their background does not touch the HUD.
- Opposite a fixed minimap: If the minimap stays in the upper-left, a short caption may work in the upper-right—provided the kill feed, score or objective information is not there.
- Contextual side placement: In games with a centred action area and clean side space, place a short caption beside the action rather than across it.
Avoid wide, two-line captions that stretch across the entire lower third. Even when they do not technically hide the HUD, they pull attention away from the play. Break a spoken sentence into short beats and time each beat to the reaction, reveal or punchline. For the caption-writing and timing side of the process, see how to add captions to gaming clips quickly.
Keep captions readable without making them huge
Use a clear typeface, strong contrast and a modest outline or shadow before increasing the font size. A giant caption may be readable on a phone, but it can also cover half the game. If your words need three or four lines to fit, shorten the line, split it into timed sections or move the text to a less busy shot.
Captions should also move when the gameplay demands it. A static template is efficient, but a quick position change during a scoreboard, cutscene, inventory screen or dialogue sequence is often worth the few extra seconds of editing.
Facecam placement: choose the least valuable corner, not your favourite corner
A facecam works best when it adds emotional context: a reaction, tension, surprise or a running joke. It works poorly when it blocks the viewer’s ability to see why you reacted.
Start by checking the game’s fixed HUD. If the minimap is top-left and the kill feed is top-right, a bottom corner may be better—but only if it does not cover health, ammo or subtitles. If the bottom is fully occupied, reduce the facecam size and place it in the quieter upper corner for that game.
- For competitive shooters, keep the facecam away from the minimap, kill feed and lower HUD; preserve the crosshair and central combat space.
- For battle royale clips, the minimap and health/shield readouts often carry the story. A smaller facecam in a temporarily quiet corner is usually safer than a large persistent box.
- For sports and racing games, avoid scores, lap position, timers, speedometers and replay prompts. A side position can be better than a corner.
- For story games, leave the lower centre open for in-game subtitles and dialogue choices. Consider a smaller upper-corner facecam or remove it for key narrative scenes.
- For horror or reaction clips, the facecam may be the co-star. Let it be prominent during the payoff, then shrink or reposition it if it begins covering a crucial prompt or scare.
A useful test: mute the clip and watch it at phone size. If you cannot immediately tell what happened because your facecam hides a key element, it needs moving. If the gameplay is clear but the reaction is too small to read, make the facecam slightly larger only after checking the HUD again.
Overlays, alerts and labels should use the edges sparingly
Stream overlays are designed for a live layout. A short-form clip is a tighter piece of editing, so you do not need to keep every alert, chat panel, goal bar or branding element. Remove anything that does not help the viewer understand or enjoy the moment.
For clips that need an overlay, reserve one area for it rather than scattering small graphics around the frame. A small name label near the facecam, a brief contextual label at the start or a subtle progress indicator can work. Persistent overlays are more likely to obscure HUD changes later in the clip.
Watch for temporary game information too. An area that looks empty at the start may fill with a score banner, achievement notification, dialogue choice or round-end screen. Scrub through the full sequence before locking overlay placement.
Vertical safe zones need a different plan
A 9:16 export gives you less horizontal room, so it is much easier to cover the game. The common mistake is treating the vertical version as a narrow crop of the original, then adding captions at the bottom and a facecam at the top. That leaves almost no clean space.
Instead, build a vertical composition around the clip’s focal point. Decide whether the gameplay is best shown as a full-height crop, a framed gameplay panel with extra background space, or a stacked layout that gives the facecam and captions their own areas.
Three dependable vertical layouts
- Full-height gameplay crop: Best when the key action stays near the centre and the HUD can remain visible. Use short captions in a clear upper or mid-frame gap, not automatically at the bottom.
- Gameplay panel with background fill: Keep the original 16:9 gameplay frame readable inside a vertical canvas, then use blurred, extended or simple background space for captions and facecam. This is often the safest option for HUD-heavy games.
- Stacked reaction layout: Place gameplay in one section and the facecam in another, with captions in the remaining space. This works well when the reaction matters as much as the play, but only if neither panel becomes too small.
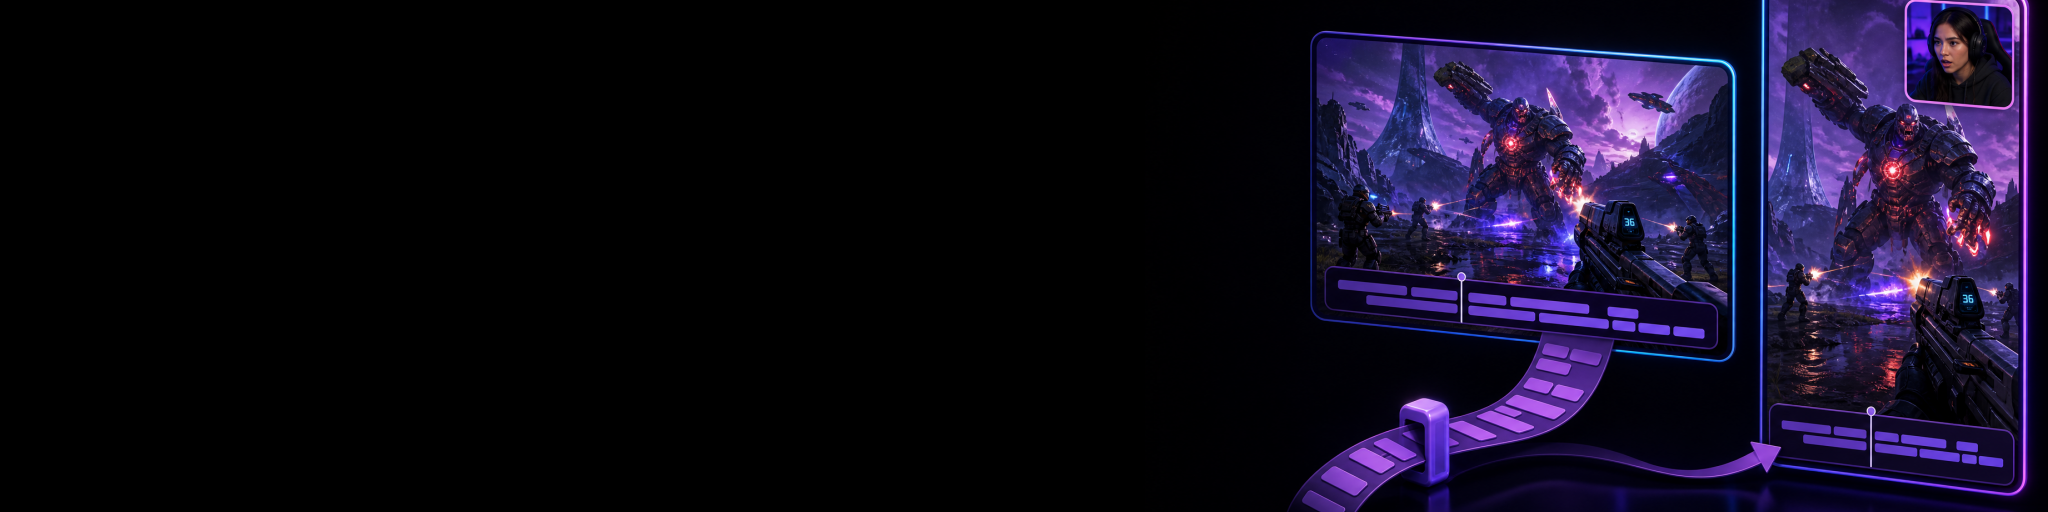
The second layout is especially useful for games with important information in all four corners. It preserves the original frame instead of forcing a crop that loses the minimap or health bar. A workflow that can create and edit separate horizontal and vertical canvases makes this much easier than trying to force one finished export into every platform format. Cutscene Replay is built around that kind of replay-to-clip workflow, including independent 16:9 and 9:16 canvases for creators who publish in both formats.
Leave room for the platform interface
In vertical feeds, avoid placing essential words, faces or buttons flush against the top and bottom edges. App interface elements can overlap those areas, and device cropping can make the problem worse. Keep important captions comfortably inward from the edges, then preview the final export on a phone before posting.
Do not assume one safe-zone template works everywhere. Use a conservative inner margin, but check the upload preview for the specific platform and revise any element that feels crowded. The final preview is more useful than a perfectly measured guide that ignores how your particular video is displayed.
Create a reusable safe-zone template for each game
Once you know a game’s HUD layout, save yourself time by making a game-specific template. This is more useful than a single “gaming captions” preset because Fortnite, Valorant, Minecraft, Call of Duty, sports games and story games all reserve different parts of the screen.
- Take a clean screenshot of typical gameplay with the full HUD visible.
- Mark the minimap, health/ammo, score, kill feed, objective text and dialogue areas.
- Draw two or three possible caption zones rather than only one.
- Choose a default facecam position and a backup position for busy scenes.
- Add a conservative inner border for vertical exports so important elements stay away from app controls.
- Review the template after game updates, HUD changes or a switch to a different resolution.
Use the template as a starting point, not a rule you never break. A clip with a cutscene, menu, replay camera or unusual HUD state may need a custom layout. The goal is faster decisions, not rigid repetition.
A fast pre-export safe-zone check
Before exporting, play the clip from start to finish at normal speed and check these points:
- Can a viewer see the main gameplay event without reading around captions or graphics?
- Are the minimap, health, ammo, abilities, score and kill feed visible whenever they matter?
- Does the facecam cover a meaningful prompt, dialogue line or reaction in the game itself?
- Do captions remain inside a comfortable margin on the vertical version?
- Have overlays stayed clear during scoreboards, menus, cutscenes and end-of-round screens?
- Does the clip still make sense at phone size with the sound off?
If any answer is no, move or shorten the added element before you change the gameplay crop. Preserving the evidence of the moment is usually more important than preserving a standard overlay layout.

Build clips for horizontal and vertical viewing
Capture the moment, then arrange captions and overlays on separate 16:9 and 9:16 canvases without rebuilding the clip from scratch.
The best safe zone is the one that keeps the moment clear
Good gaming video safe zones are not about putting every caption at the same coordinates. They come from knowing what the viewer needs to see, recognising where each game puts its information and designing the horizontal and vertical versions independently.
Protect the action and HUD first. Keep captions short and movable. Treat the facecam as a supporting element unless the reaction is genuinely the story. Then preview the export as your audience will watch it—especially on a phone. That small discipline makes clips easier to follow, more watchable and far less likely to hide the exact moment you wanted to share.