 Download
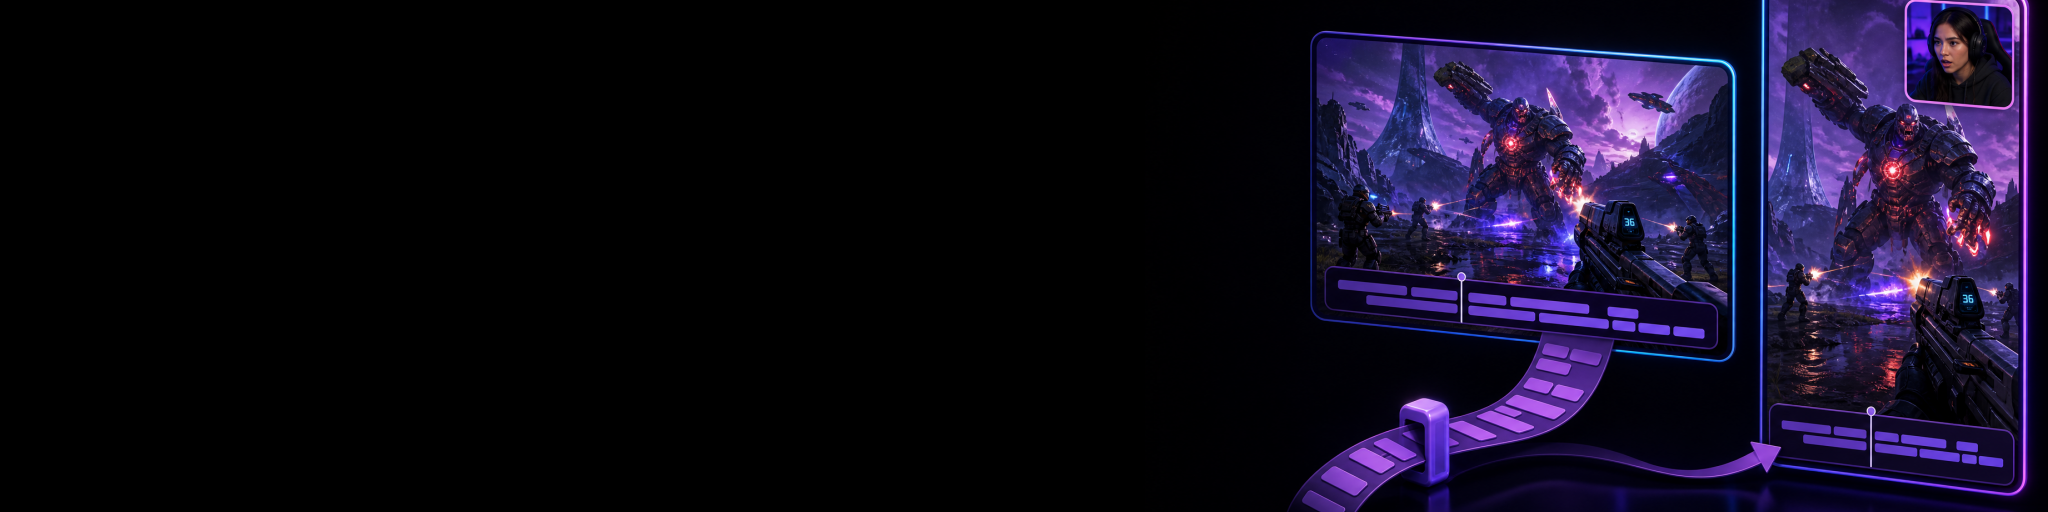
The quickest way to repurpose gaming clips without editing twice is to separate shared editorial decisions from format-specific layout decisions. Trim the moment once, choose the best pacing once, make the same caption and audio choices once—then create a landscape version for YouTube and a vertical version for TikTok or Shorts with only the adjustments that genuinely need to differ.
That does not mean every platform gets an identical export. A vertical clip may need a different webcam position, caption placement or crop to keep the action readable. The goal is not to force one video into every shape. It is to avoid rebuilding the same highlight from zero just because you publish in more than one place.
Why gaming creators end up editing the same moment twice
The usual workflow creates duplication before editing even starts. You save or record a 16:9 gameplay clip, trim it for a YouTube upload, then duplicate the file and turn that copy into a 9:16 version. Suddenly you are repeating the same work: finding the opening frame, deciding where the joke lands, cutting dead air, balancing audio and adding captions.
The problem becomes more obvious with fast gameplay. A vertical version cannot always use the same crop throughout the clip, especially when the player, teammate, objective marker and reaction all matter. If the original was made only for widescreen viewing, the vertical edit becomes a rescue job rather than a planned version of the same moment.
A better system treats one highlight as a small content package with two outputs. The shared moment has one source, one set of core edits and two tailored presentations.
What should be shared and what should stay format-specific
Start by deciding which changes describe the moment itself and which changes describe where viewers will watch it. This distinction is what prevents duplicate editing while protecting the quality of each version.
Edits you can usually make once
- Choosing the exact start and end of the highlight.
- Removing loading screens, pauses, menu time and other dead space.
- Cutting to the reaction, punchline or key play sooner.
- Speed changes that improve the pace of the moment.
- Basic audio balancing and muting unwanted sections.
- A consistent caption transcript and timing for spoken lines.
- Fades or simple overlays that are part of the clip’s story rather than its layout.
Edits that usually need a version for each platform
- Canvas size: 16:9 for standard YouTube video and 9:16 for TikTok, Reels and Shorts.
- Gameplay framing, particularly when important action moves across a wide HUD.
- Facecam size and position.
- Caption position, line length and safe-zone checks.
- Extra background, gameplay zoom or supporting visual space needed in a vertical composition.
- Platform-specific titles, descriptions, thumbnails and calls to action.
Think of it this way: the edit tells viewers what happened; the composition makes that edit legible on a particular screen. Keep the first shared whenever possible. Adapt the second deliberately.
The one-moment, two-format workflow
1. Capture for both outputs before the moment happens
The easiest clip to repurpose is one that already has a usable horizontal and vertical version. Instead of recording only a wide gameplay layout and trying to crop it later, capture the same moment in two independently arranged canvases: one 16:9 canvas for YouTube and one 9:16 canvas for TikTok or Shorts.
The key word is independently. Your vertical canvas can keep the player and key HUD elements prominent, place a facecam where it will not cover the action and leave enough clean space for captions. Your horizontal canvas can use the wider view that makes sense for YouTube. That gives each format an intentional starting point, without asking you to play or stream the moment twice.
If you only have a widescreen clip, you can still make a strong vertical version. You will simply need more format-specific reframing work. For a practical guide to that situation, see how to make vertical gaming clips without cutting off the action.
2. Keep the two versions connected as one clip
Once the moment is saved, treat the landscape and vertical recordings as partners—not as unrelated files in separate folders. Name and organise them together, or use a workflow that automatically links the paired versions. When you can move from one format to the other without searching for a duplicate recording, it is much easier to keep both exports consistent.
This is also where a replay-based capture workflow helps. Rather than managing hours of full-session footage, you save the spontaneous moment that matters and immediately have a smaller, focused editing task. If you are still choosing a replay-capture setup, this comparison of OBS and Streamlabs clip-recording workflows explains some of the trade-offs creators face after capture.
3. Make a shared first pass
Open the paired moment and edit the story before worrying about the final canvas. Find the cleanest entry point. Cut the delay before the action. Leave enough setup for a viewer who was not in the stream, but do not keep five seconds of silence just because it happened live.
A useful test is whether the clip still makes sense with the screen muted. The viewer should be able to understand the basic sequence from the opening second, the visible action and any on-screen context. Then restore audio and tighten the timing around the reaction, callout or payoff.
Do this editorial pass once. If a line needs removing, a section needs speeding up or a sound level needs lowering, apply that decision to the shared clip rather than making the same correction in two separate projects.
4. Adapt the layout, not the whole edit
Now switch between the horizontal and vertical versions to make targeted layout adjustments. In the 16:9 version, your job is often straightforward: keep gameplay readable, use the wider field of view and make sure any facecam or overlay supports rather than competes with the moment.
In the 9:16 version, prioritise the information a phone viewer must see. That may mean moving a facecam, enlarging the gameplay area, repositioning captions or changing the composition at the exact point where the action moves. The shorter the clip, the more aggressively you can simplify: one main focal point is usually better than trying to preserve every element of the original stream layout.
Check vertical safe zones before exporting. TikTok, Shorts and Reels all place interface elements around the edges, and a caption over a health bar, subtitle or key prompt can make a good clip frustrating to watch. Use these gameplay clip safe-zone guidelines for captions, facecams and overlays when building your vertical layout.
5. Copy only the edits that truly apply
Some edits should follow both versions automatically or be copied across: trims, cuts, speed changes, audio changes and caption timing are common examples. Other edits should remain separate because the formats ask different things of the viewer. A zoom that works in vertical may feel unnecessary in widescreen; a lower-third that looks clean in 16:9 may block too much of a phone screen.
This is the point where a paired-clip workflow is more useful than a simple duplicate-file workflow. You get the speed of reusing a decision, while retaining the option to make either version better on its own terms.
Build the vertical version for viewing, not for cropping
The most common repurposing mistake is to shrink a 16:9 video into a tall frame and hope captions make up for the lost context. This often leaves the viewer with tiny gameplay, black space, a cropped HUD or an important fight happening outside the frame.
Instead, decide what the vertical viewer needs to follow the moment. For a clutch play, that may be the crosshair, opponent and final reaction. For a funny voice-chat exchange, gameplay can become supporting context while captions and a facecam carry more of the story. For a tutorial moment, the relevant UI or input may deserve the largest share of the frame.
- Keep the key action in the central, readable portion of the vertical frame.
- Move facecam and captions around the gameplay rather than layering them over essential HUD elements.
- Use a background or secondary visual only when it adds context; do not fill space for its own sake.
- Review the clip at phone size before publishing. A layout that looks fine on a large monitor can become unreadable on a small screen.
- Use caption styling consistently, but allow line breaks and placement to differ where the vertical composition needs it.
If captions are part of your normal workflow, make them after the shared cut is stable. You can then reuse the timing and wording while repositioning the text per canvas. This guide to adding captions to gaming clips quickly covers the practical editing choices that keep short clips clear rather than cluttered.
Choose the right capture approach for your workflow
You can repurpose one highlight with several setups. The right choice depends on how often you publish, how much manual editing you tolerate and whether vertical content is a regular part of your channel.
Record one widescreen master, then reframe it
This works if YouTube is your main priority and vertical clips are occasional. Record at a resolution high enough to give yourself reframing room, then make a vertical version when a highlight is worth the effort. It is flexible, but it creates more manual work and will not always preserve all gameplay information cleanly.
Use separate scenes or profiles
You can maintain one layout for a standard video and another for vertical content. This gives you more control, but it can be awkward for unexpected live moments. You may need to remember to switch scenes, record separate takes or rebuild the moment after the fact.
Capture horizontal and vertical versions simultaneously
For creators who regularly post to YouTube and TikTok, simultaneous dual-canvas capture is the most direct way to remove the format problem at its source. You produce two appropriate recordings from the same spontaneous moment, then make one core edit and only adjust the presentation where needed.
Cutscene Replay is built around that sort of workflow: it can capture linked horizontal and vertical versions of a moment with independent layouts, then let you work with the paired clips rather than starting a new edit from scratch. Its non-destructive editing approach also means you can test trims, captions and layout choices while keeping the original recordings available. See how Cutscene Replay fits into a faster stream-clipping workflow.
A practical editing checklist before you export
- Confirm both versions begin on the same strongest moment and end cleanly.
- Watch the horizontal version for pacing, gameplay clarity and audio balance.
- Watch the vertical version full-screen at a small size; check that action, captions and facecam remain readable.
- Check that no platform controls are likely to hide key captions or HUD information.
- Make sure captions match the spoken moment, even if their position differs between versions.
- Export the correct aspect ratio for each destination rather than relying on a platform to crop the upload.
- Write platform-specific metadata after the video is finished; the hook may be shared, but the title and description do not need to be identical.
When editing twice is still the better choice
There are times when the two versions should diverge more substantially. A longer YouTube highlight may need setup, context and a slower payoff, while a TikTok may work best as a quick cold open. A vertical clip might focus entirely on a reaction, whereas the YouTube version shows the whole sequence that caused it.
In those cases, do not force identical pacing just to save a few minutes. Make the shared first pass, then branch when the audience experience genuinely changes. You are still saving time because you have not duplicated capture, clip selection, source review and every basic correction.
For existing stream highlights that need a more deliberate short-form makeover, this workflow for turning a Twitch clip into a better TikTok or YouTube Short is a useful next step.

Make one moment easier to publish everywhere
Capture paired horizontal and vertical gameplay clips, keep the edits connected and spend your time refining each format instead of rebuilding the same highlight twice.
The goal is one creative decision, not one identical video
Repurposing efficiently does not mean posting the exact same file everywhere. It means capturing the moment once, making the core editorial decisions once and giving each platform the layout it needs. With that approach, YouTube and TikTok become two useful versions of the same highlight—not two separate editing projects competing for your time.