 Download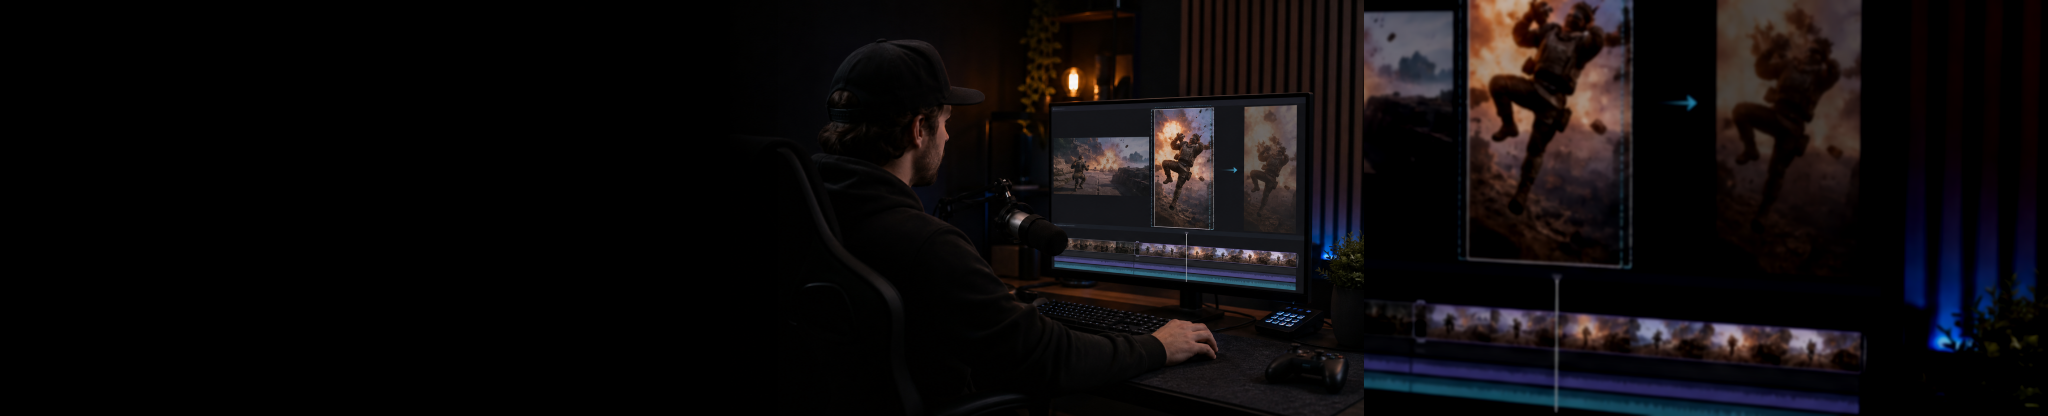
A Twitch clip is a useful starting point, not automatically a finished TikTok or YouTube Short. The raw moment may be funny, skilful or surprising, but it was usually made for a live stream: wide gameplay, a small facecam, chat reactions and a few seconds of build-up that only make sense to people who were already there.
To turn Twitch clips into TikToks or Shorts that hold up in a scrolling feed, treat the clip as source footage. Pick the clearest moment, build enough context for a new viewer, reframe it for a vertical screen, remove dead time and make the important action easy to follow without sound.
The goal is not to add effects to every clip. It is to make the reason to watch obvious in the first second or two, then get out of the viewer’s way when the payoff arrives.
Start with a clip that has one clear payoff
The best stream highlights usually have a simple structure: something is about to happen, it happens, and there is a reaction or result. A last-second win, a bizarre bug, a clean play, a teammate’s unexpected line or an instantly recognisable fail can all work well.
Avoid choosing a clip solely because it was popular with your live chat. Stream regulars understand your running jokes and the match context. Someone encountering it on TikTok or YouTube does not. If the moment needs a two-minute explanation, either find a tighter section or edit in a very short setup.
- Choose clips with a visible or audible payoff rather than a slow, unclear sequence.
- Look for a reaction: yours, a teammate’s or an obvious in-game consequence.
- Prefer one idea per Short. A montage can work, but each beat still needs to be understandable.
- Use clean source footage whenever possible. A downloaded, heavily compressed repost is harder to crop, caption and export cleanly.
Decide whether Twitch’s portrait version is enough
Twitch can create portrait versions of clips and supports sharing to short-form platforms. That can be the fastest route when the clip already works vertically, the action sits near the middle of the frame and you only need a quick post.
Use the built-in route when speed matters more than polish. It is sensible for timely reactions, a quick stream promotion or a moment that needs almost no editing.
Use a local editor when the clip needs a better crop, a punchier opening, captions, a separate facecam treatment, audio cleanup or platform-specific versions. Those small decisions often matter more than the difference between a usable Short and one people watch through.
If you routinely capture your own stream moments, a replay-based workflow can also give you a cleaner, higher-control starting file before the Twitch clip page is involved. Learn how replay capture can save the last 30 seconds of gameplay after the moment happens.
Build the Short around the hook, not the full stream timeline
A live clip often begins too early. You may have been waiting for an opponent, explaining a plan or looking at another screen. For a short-form edit, begin as close to the point of tension as you can without making the result confusing.
A reliable structure is: hook → quick context → payoff → reaction or result. Not every clip needs all four parts, but the viewer should quickly understand what they are looking at and why it matters.
- Open on the most visually interesting frame, a reaction or the moment just before the action.
- Add a one-line context cue only if it prevents confusion, such as “One shot left” or “My teammate said not to peek.”
- Cut pauses, menu time, repeated attempts and any explanation the picture already communicates.
- Let the result breathe briefly. Cutting away at the exact instant of the payoff can make a clip feel abrupt.
- End immediately after the reaction, score change or final reveal unless an extra beat genuinely adds to the joke.
This does not mean every Short has to be frantic. A tense clip can use a small pause before the payoff. The key is that every second should either create anticipation, deliver information or make the moment land harder.
Reframe for 9:16 without hiding the important action
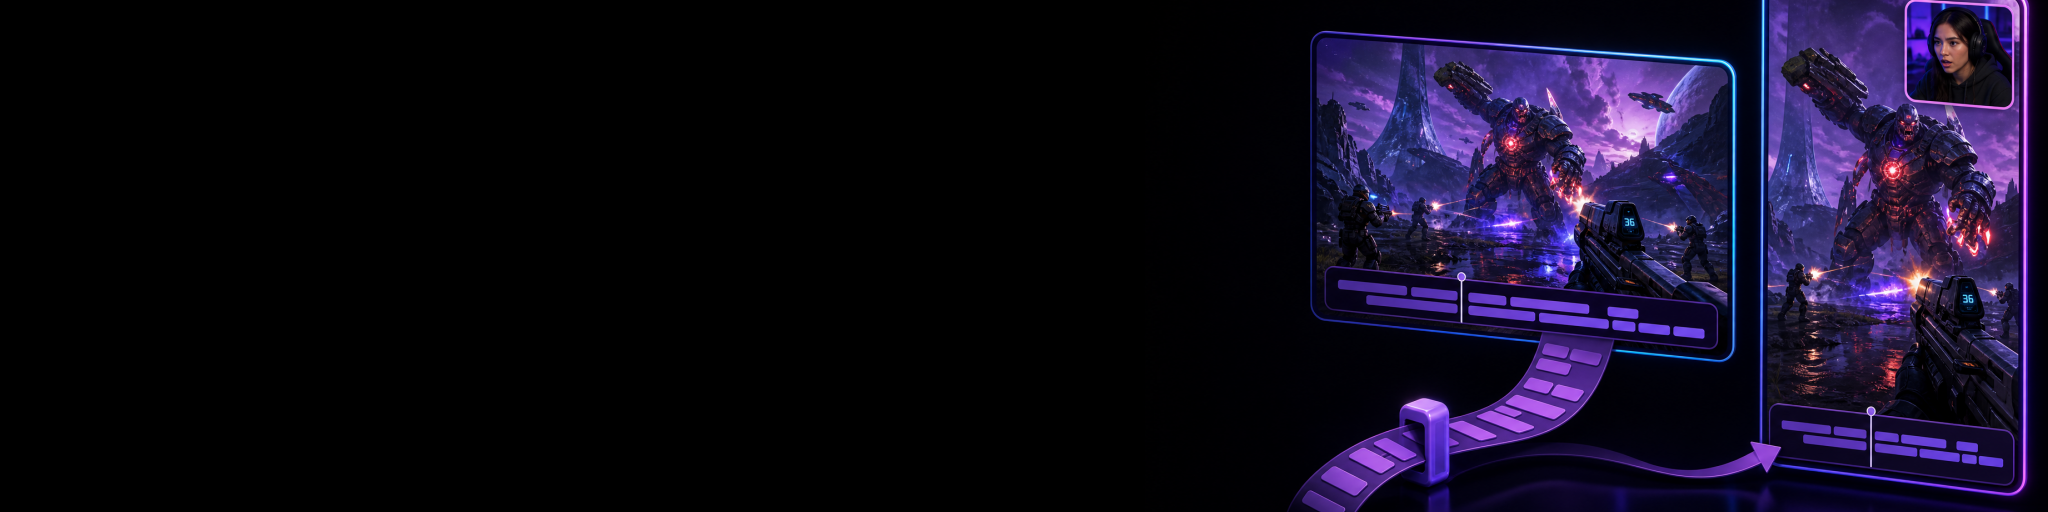
TikTok and YouTube Shorts are primarily vertical viewing experiences, so a horizontal Twitch clip needs more than black bars above and below it. The vertical frame should direct attention to the player character, opponent, crosshair area, reaction or other essential detail.
Start by identifying the one thing a viewer must see. In a shooter, it might be the target and crosshair. In a racing game, it may be the car and the track hazard. In a chat-heavy stream moment, your facecam reaction may matter more than the gameplay for a few seconds.
- Keep the main action in the central safe area rather than tight against the top or bottom edge.
- Check whether a platform’s buttons and captions could cover important HUD information.
- Use keyframes or a moving crop when the action travels across a wide frame.
- Do not zoom so far in that the viewer loses spatial context or can no longer tell what happened.
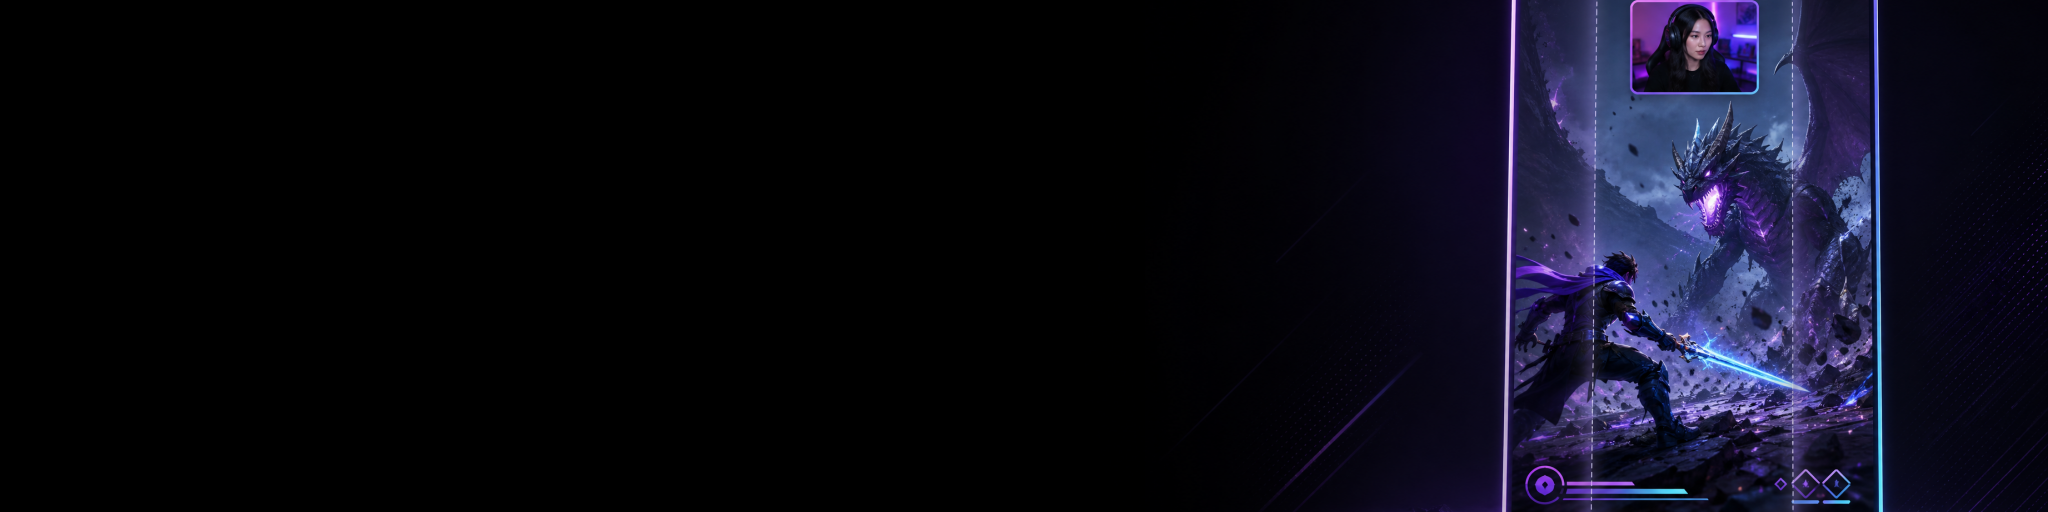
- If two areas matter at once, consider a stacked layout: gameplay in the larger section, with a smaller but readable facecam or supporting view.
- Use a subtle blurred or enlarged background only when it supports the clip. It should not become a distraction.
For more detailed placement advice, including avoiding conflicts between captions, facecams and gameplay HUD, see how to add captions to gaming clips quickly.
Make the first frame understandable with simple on-screen context
A title card is rarely necessary. A short context line placed directly over the opening action is usually faster and more effective. It can explain a challenge, a mistake, a score situation or the reason the viewer should care.
Keep it specific. “Watch this clutch” is vague; “I had one bullet left” gives the viewer a reason to stay. “My duo told me this jump was impossible” creates a clear expectation that the clip can then prove or disprove.
Use the same principle for titles and descriptions: describe the moment rather than stuffing in every game, platform and creator keyword. The video itself should deliver the promise.
Add captions that help rather than overwhelm
Captions make spoken jokes, callouts and reactions easier to follow when viewers are muted or listening in a noisy place. They are especially useful when a teammate’s line is the setup for the clip.
Caption the information that carries the moment. You do not always need to transcribe every filler word, repeated callout or bit of background noise. Short, well-timed captions are more readable than a wall of constantly changing text.
- Use large, high-contrast text with a simple outline or background treatment.
- Keep captions away from crucial HUD elements and platform controls.
- Break long sentences into natural phrases that match the delivery.
- Time emphasis to the important word, reaction or reveal rather than animating every word for its own sake.
- Review names, slang and game terms manually if automatic transcription gets them wrong.
Be careful with context and consent. Do not edit somebody’s words in a way that changes their meaning, and think twice before publishing private voice-chat moments or identifiable details that other people did not expect to be shared.
Use audio to sharpen the moment
Game audio, voice chat and your microphone compete with each other in a stream clip. Before exporting, listen once through headphones and once at normal phone volume. If the joke is in voice chat, lower the game just enough for the words to cut through. If the impact sound is the payoff, do the opposite.
Avoid adding loud music just to make a clip feel edited. It can bury the genuine reaction, create rights problems or flatten the tension that made the original moment worth clipping. A simple audio balance and a clean cut will often do more.
Create separate TikTok and YouTube Shorts versions when needed
You can upload the same core vertical edit to both platforms, but it is worth making small changes when the clip calls for them. A YouTube audience may benefit from a clearer, search-friendly title. TikTok may reward a faster opening line or a more direct caption. Neither platform needs an entirely different edit every time.
Keep a clean master export without watermarks, then make platform-specific uploads from that file. This preserves flexibility if you later want to change the hook, captions or cover frame.
- Export a vertical 9:16 file at a resolution and codec supported by the platform’s current upload guidance.
- Watch the exported file on a phone before posting; desktop preview can hide small text and poor crop decisions.
- Choose a cover frame where the action or reaction is clear at a small size.
- Write a concise title or caption that adds context rather than repeating words already visible on screen.
- Keep the original clip and project file if the moment has potential for a longer compilation or follow-up post.
A faster workflow if you make clips after every stream
Downloading and adapting individual Twitch clips works well when you are starting out. It can become slow when you stream often, especially if you want both horizontal and vertical versions, cleaner source footage and a simple way to revisit saved moments.
A practical alternative is to save strong moments locally as they happen, then review them in a clip library after the stream. You can quickly decide which moments deserve a Short, crop for vertical, trim the lead-in and export without searching through an entire broadcast recording.
Cutscene Replay is designed around that capture-to-publish workflow: replay saving through hotkeys, separate horizontal and vertical canvases, local clip management and lightweight editing for practical short-form tasks. It is not intended to replace a full professional editor, but it can reduce the friction of turning spontaneous gameplay into a postable clip. See how Cutscene Replay fits into a stream clipping workflow.
If you are still deciding how to capture those moments in the first place, compare OBS and Streamlabs recording-clip workflows or explore automatic clip options for Twitch and YouTube streams.
Spend less time hunting for stream moments
Save highlights as they happen, review them locally and make quick vertical edits when a clip is worth posting.
Final checklist before you post
- Can a new viewer understand the clip within the opening seconds?
- Does the vertical crop keep the key gameplay, reaction or result visible?
- Have you removed waiting, confusion and repeated dead space?
- Are captions readable and clear of important on-screen information?
- Is speech, game audio and any music balanced for phone viewing?
- Does the ending land on the payoff rather than trailing back into stream downtime?
- Have you kept a clean, watermark-free master for future uploads?
The strongest TikToks and YouTube Shorts made from Twitch clips do not try to recreate the whole stream. They isolate one moment, give it just enough context and shape the frame, pacing and sound around what made it worth sharing in the first place.