 Download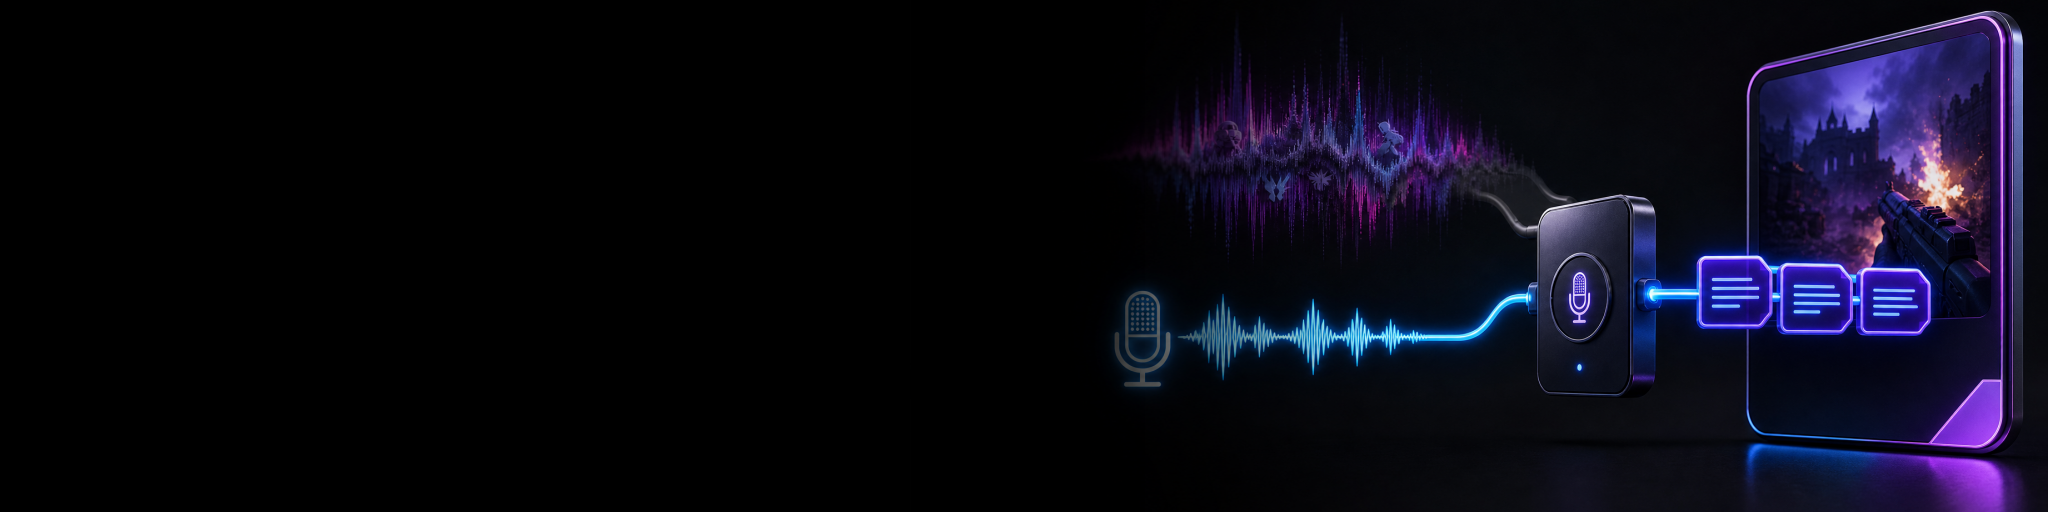
If you record your microphone separately from gameplay, you do not have to caption the noisiest version of your clip. You can transcribe the cleaner voice track locally, review the result against the edit, then style and place captions without uploading the footage to a web service.
That approach is especially useful for gaming highlights, where gunfire, music, alerts, teammates and sudden volume changes can compete with your commentary. It is also a sensible option for creators who prefer to keep clips and voice recordings on their own machine.
The important distinction is not simply local captions versus cloud captions. It is whether your workflow lets you choose the audio that gives transcription the best chance of understanding what you said.
The real comparison: mixed gameplay audio versus a clean microphone track
Most automatic-caption tools can work from a finished video. That is convenient: export the clip, upload it or import it, generate a draft, then correct mistakes. But the audio inside a finished gameplay clip is often a compromise. Your speech may share one track with game sound, Discord, music, sound effects and capture noise.
A separate microphone recording gives transcription a more focused input. Instead of asking the speech engine to isolate your voice from a busy mix, you provide the voice source directly. This does not make every caption perfect, mumbled words, overlapping speech and poor mic technique still need review—but it can make the first draft easier to correct.
- Mixed clip audio: simplest when the finished video is all you have, but game sound and voice chat can obscure speech.
- Separate microphone audio: usually the better transcription input when your own commentary is the priority.
- Edited audio track: useful when you have already cleaned, muted or balanced sources and want captions to match that version of the clip.
This is different from general audio mixing. You are not necessarily changing what viewers hear. You are choosing the clearest available recording as the caption source, then timing the resulting captions to the highlight you are publishing.
Local captions, cloud captions and manual typing: which workflow fits?
There is no single right method for every creator. The best option depends on how often you clip, whether you keep separate audio sources, how much control you need and where you are comfortable processing your footage.
- Local transcription: suited to creators who want caption generation to happen on their own computer and who value a workflow that stays close to their saved recordings. It is particularly useful when a clean microphone source is available.
- Cloud caption services: suited to creators who want a browser-based workflow, collaboration features or a service that handles processing remotely. The trade-off is that you normally need to upload media or audio first.
- Manual captions: suited to short, highly polished clips where every word, joke and timing beat matters. It is the slowest starting point, but gives complete control from the beginning.
- Hybrid workflow: generate a local draft from your microphone track, then manually correct names, slang, game terminology and punchlines before export. For many gaming creators, this is the practical middle ground.
The key limitation of any caption engine is that it cannot recover information that was never captured clearly. If your microphone is buried beneath the game mix, the result may require more correction no matter which tool you use. Capturing sources separately keeps the option open.
Why a clean microphone source changes the captioning workflow
Gaming clips often contain the exact sounds that make a highlight exciting—and that make automatic speech recognition work harder. A clutch may include rapid effects, shouting teammates, music and an alert at the same moment you explain what happened. The exported clip should keep that energy. The transcription input does not have to carry all of it.
With independently retained audio, you can use your microphone recording as the transcription source while preserving the original game and voice-chat audio for the actual edit. That separates two jobs that are often treated as one: making a clip sound right for viewers, and giving the caption engine the clearest speech it can analyse.
It also gives you a better recovery path. If the first caption pass misunderstands a callout, you can check the original microphone audio without trying to decode it from a compressed, loud final mix. If another person is speaking, you can decide whether their words belong in captions rather than accepting an uncontrolled transcript.
A local microphone-to-caption workflow in Cutscene Replay
Cutscene Replay is built for the case where a chosen replay can remain useful after capture, rather than becoming only one flattened video. When you enable editable source footage, Cutscene can retain independent source recordings alongside the replay, including separate audio sources where available. That means your microphone track can still be available when you are ready to caption the clip.
In the editor, Cutscene Replay can generate captions through its bundled local Whisper-based transcription workflow. Rather than being restricted to the rendered gameplay mix, you can choose an available original recording source for transcription. For a commentary-led highlight, that can mean selecting the cleaner microphone audio instead of the noisier combined game audio.
- Save the gameplay moment with editable source footage enabled when you want post-capture flexibility.
- Open the replay in Cutscene Replay and make any basic clip decisions first, such as trimming the start and end.
- Start caption generation and select the separate microphone recording as the transcription source when it is the clearest speech source.
- Review the timed caption cues, correcting game names, player names, slang, interruptions and any words the draft missed.
- Style and position the captions for the clip instead of treating the first pass as final. Keep them clear of important gameplay information.
- Export the finished highlight with captions while retaining the source material for later changes if the clip needs another edit.
The practical benefit is that captions are not an isolated upload-and-download chore after every highlight. Capture, source selection, transcription, review and caption placement can happen in one local clip workflow. If you want a broader look at retaining separate audio while using replay capture, see this replay-buffer workflow for cleaner gaming captions.
What this approach does not solve automatically
A clean microphone track is an advantage, not a substitute for editing. You should still watch the clip with captions on before publishing. Speech recognition can mishear game-specific terms, usernames, acronyms, strong accents and words spoken over someone else. Captions also need visual judgement: a correct line can still be badly placed, too long or on screen at the wrong moment.
Separate microphone audio also does not automatically identify every speaker. If you want captions for squadmates or in-game voice chat, you need to retain and select the relevant audio source, and you may need to review overlapping dialogue more carefully.
Finally, local transcription is not necessarily the best fit for a team that needs browser-based review, shared approvals and centralised asset management. In that case, a cloud service may better match the production process. The point is to choose deliberately rather than assuming every clip must be uploaded and transcribed from its mixed audio.
How to get better captions from your microphone recording
- Keep microphone levels consistent enough that your voice is not routinely drowned out or clipped.
- Use headphones where possible to reduce game audio leaking back into the mic.
- Avoid aggressive noise suppression that cuts words or changes speech unnaturally.
- Leave a little room around the highlight when trimming; captions often need a beat before and after the key line.
- Correct proper nouns, map names, weapon names and player tags manually, these are common weak points in any automated draft.
- Check caption placement against HUD elements, subtitles and facecam space before publishing. Use practical gaming-clip safe zones when deciding where the text should sit.
When Cutscene Replay is the stronger option
Cutscene Replay is the stronger fit when your main problem is not merely adding text to a completed file. It is preserving a chosen gaming moment with separate audio available, using the clean microphone recording for local transcription, then editing the generated captions inside the same clip workflow.
That is most useful for creators who regularly save replays, speak over gameplay and want to avoid uploading footage just to begin captioning. It is less compelling if you only receive finished mixed videos from someone else, or if your workflow depends on a cloud-based collaboration system.
If you already have a separate microphone track but need a practical way to keep it useful after the moment happens, Cutscene Replay’s replay capture workflow is designed around that flexibility: preserve the source, select the clearer audio for transcription and turn the resulting draft into a publishable captioned clip.

Caption the voice track, not the chaos
Try Cutscene Replay if you want to save gaming highlights with editable source audio, generate captions locally and review them in the same clip workflow.
The bottom line
For gameplay clips, the best caption source is often not the finished mix. If you have a separate microphone recording, transcribing that clean track locally can give you a more usable draft while leaving game sound and other audio sources intact for the final edit. Review the captions, place them carefully and publish the version viewers can actually follow.