 Download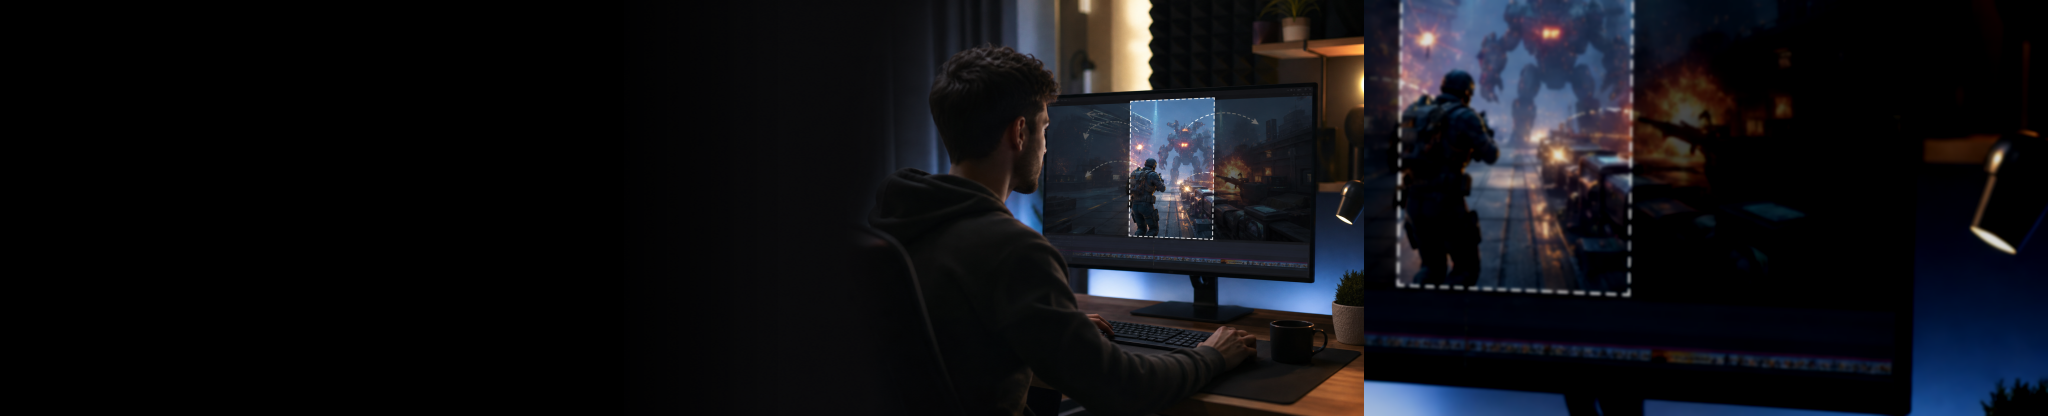
The easiest way to make a vertical gaming clip without cutting off the action is to choose the layout before you crop. A 16:9 gameplay recording does not automatically become a good 9:16 Short just because you zoom into the centre. In many games, the centre contains the crosshair but not the player, enemy, objective, kill feed, subtitles or facecam that explain what happened.
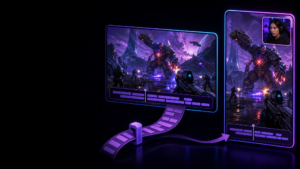
Start by deciding what the viewer needs to understand in the first second. Then use one of four approaches: a tight crop for focused action, a tracked reframe for movement, a gameplay-plus-webcam layout, or a full widescreen clip inside a vertical canvas with a background treatment. The right choice depends on the game and the moment—not a fixed editing rule.
Why widescreen gameplay gets awkward in vertical video
A horizontal 16:9 frame is wide. A vertical 9:16 frame is tall and narrow. If you fill the vertical frame with a centre crop, you discard a large amount of information from both sides. That can work for a close-range elimination, a reaction shot or a single character moving through the middle of the screen. It fails when the action spreads across the HUD or moves quickly from side to side.
Gaming footage has another complication: important information is often deliberately placed near the edges. Health, ammo, minimaps, teammate status, objectives, chat and kill feeds can all sit outside a central crop. A viewer may still enjoy a clip without every HUD detail, but they should not be confused about the payoff because the relevant information disappeared.
Treat vertical editing as a new composition, not a smaller version of the original recording. Your job is to preserve the story of the moment: setup, action and reaction.
Choose the right vertical layout for the clip
Before opening the crop controls, watch the full clip once and identify its subject. Is it the player character, an enemy, a scoreboard change, a funny voice-chat reaction, a facecam expression or a fast sequence that needs more of the original frame? That answer determines the layout.
1. Use a full-height crop for centred, readable action
A full-height crop means enlarging the 16:9 footage until it fills the 9:16 canvas. Use it when the important action stays in a narrow central area and the clip benefits from feeling close and immediate.
- Good fit: first-person shooters where the target and reticle remain near the middle.
- Good fit: fighting games with both characters close together.
- Good fit: a single jump scare, clutch, punchline or reaction.
- Poor fit: battle royale clips that rely on the minimap, squad panels or a wide field of view.
- Poor fit: racing, sports or strategy games where action regularly travels across the screen.
Do not assume the centre of the source frame is always the right crop position. In third-person games, the player character is often offset. In a shooter, the opponent may enter from one side. Shift the crop so the important subject has room to move into the frame instead of placing them against the edge.
2. Reframe the crop when the subject moves
If the important action changes position, keyframe or animate the crop position. For example, begin on a player approaching from the left, move the crop towards the centre for the encounter, then follow the player or enemy towards the right for the payoff. This is often the difference between a vertical clip that feels intentional and one that looks like it missed half the game.
Keep reframing controlled. A crop that chases every small mouse movement can feel more distracting than the gameplay. Follow meaningful changes in attention—an enemy appearing, a vehicle entering, a character falling, or a reveal—not every camera twitch.
- Set the vertical canvas first.
- Find the key action at the beginning of the clip and position the crop around it.
- Scrub through the clip and mark where the subject changes side or the payoff occurs.
- Add only the crop moves needed to keep the story visible.
- Preview at phone size before exporting; if you cannot immediately see the action, simplify the movement or use another layout.
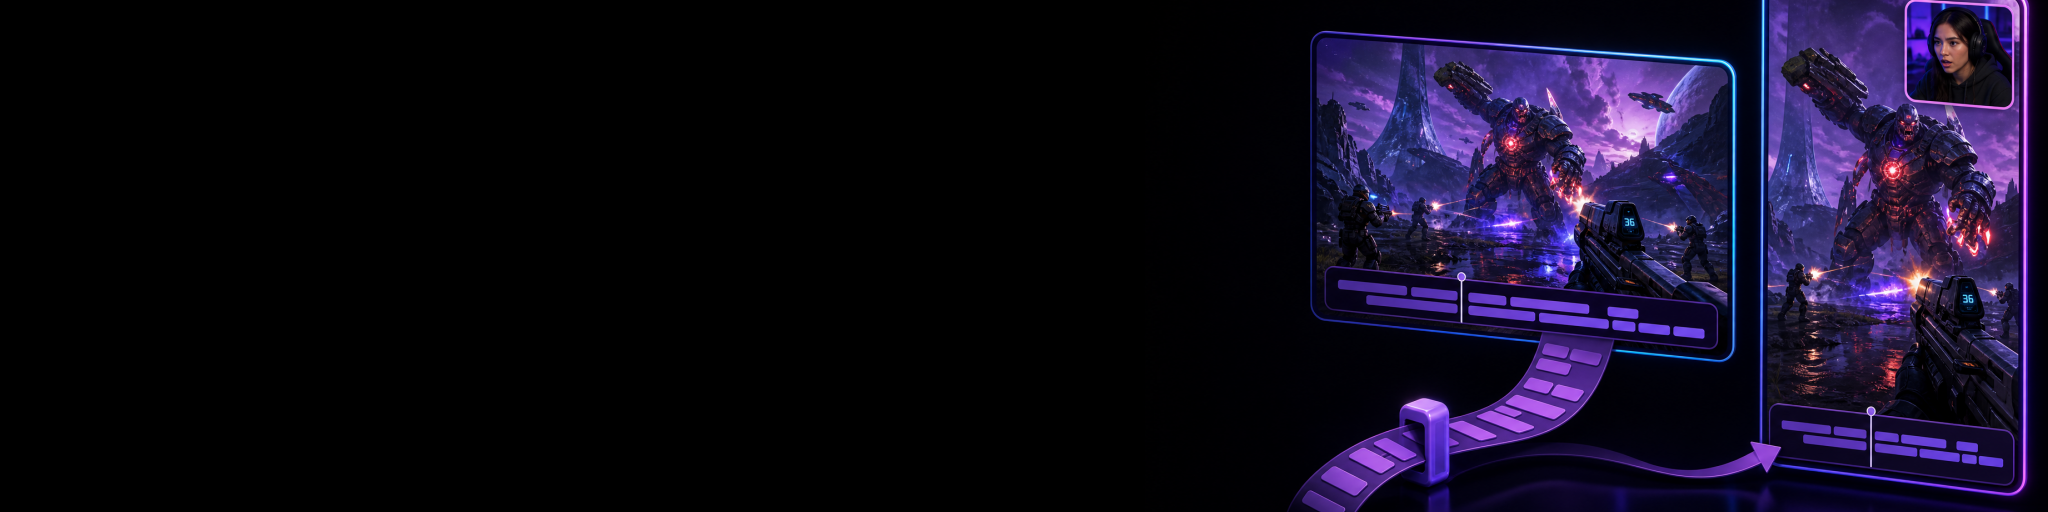
3. Keep widescreen gameplay and build a vertical layout around it
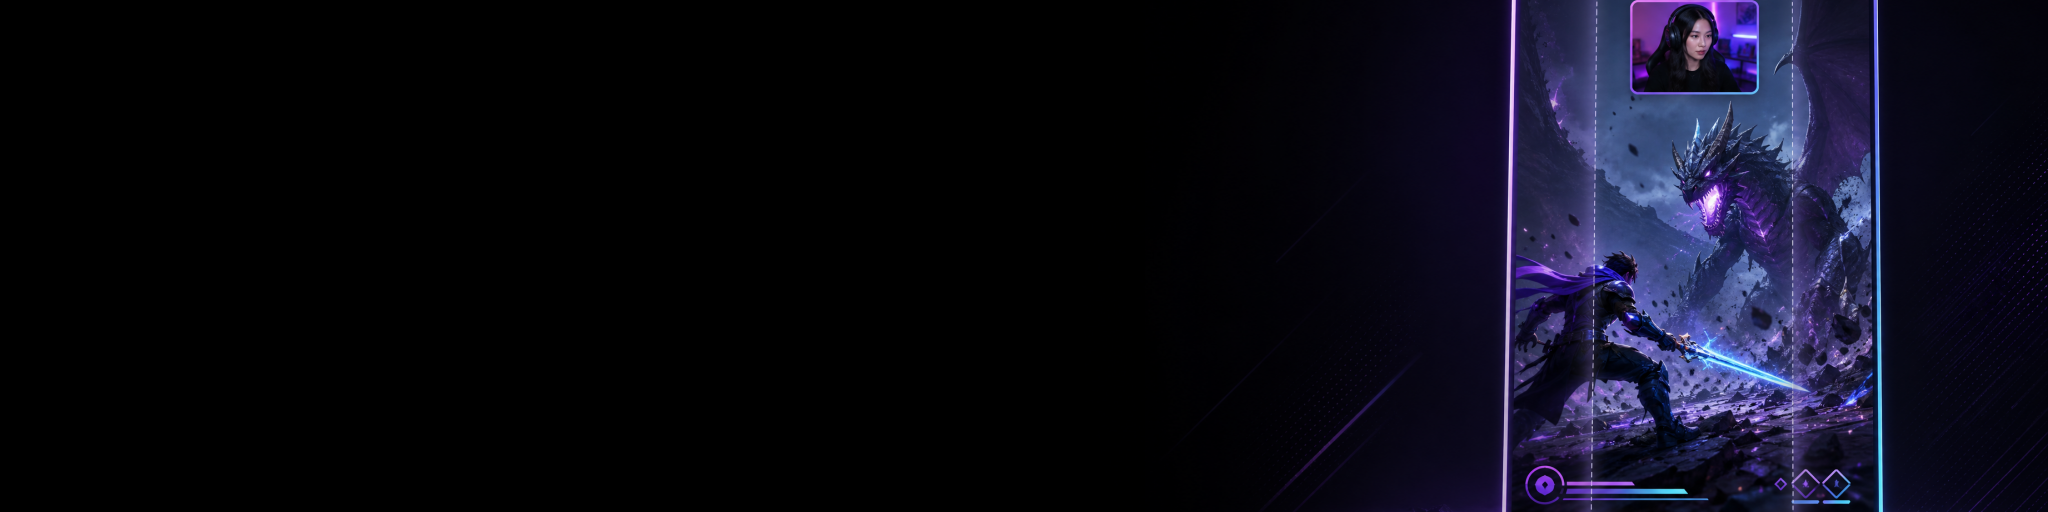
Some clips need their width. Instead of forcing them to fill the vertical canvas, keep the 16:9 gameplay frame intact and place it inside a 9:16 project. Use the unused space above and below for a facecam, a reaction shot, a clean background, a related detail crop or captions.
This works particularly well for games with busy HUDs, multiple players, wide tactical views and fast camera pans. The gameplay remains legible, while the overall export is still vertical and suitable for Shorts, TikToks or Reels.
A blurred or enlarged version of the footage can fill the background, but it should stay quiet. Reduce its contrast and avoid making it look like a second competing video. A simple dark background is often cleaner when the source footage is already visually busy.
4. Use a gameplay-plus-webcam layout when the reaction matters
A facecam can solve a composition problem only when it adds to the moment. If your reaction is the joke, surprise or emotional payoff, reserve a clear area for it and leave the gameplay wide enough to understand what triggered the reaction.
Do not add a webcam just to occupy empty space. A large facecam can cover a minimap, subtitles, health bar or the exact action you are trying to preserve. If the gameplay tells the story on its own, a clean gameplay-first layout is usually stronger.
Protect the parts of the game that explain the moment
When you make vertical gaming clips, think in safe zones. The centre is usually the strongest area for the main action, but viewers may need supporting information from elsewhere in the original frame. You do not need to preserve every interface element; you need to preserve the elements that make the clip understandable.
- Main subject: player character, enemy, vehicle, ball, target or object that drives the moment.
- Payoff information: kill confirmation, score change, objective completion, damage number or reveal, where relevant.
- Context: enough of the environment to show why the action was difficult, lucky or funny.
- Creator reaction: webcam or voice-chat visual only when it improves the story.
- Text: captions, labels and overlays placed away from the game’s own essential UI.
A practical habit is to pause on the most important frame and check what is visible in the vertical preview. Then check the start and end. These three points catch most bad crops: the setup may be cut off at the start, the payoff may happen near an edge, or a final reaction may vanish at the end.
For a more detailed approach to keeping your own captions, facecam and overlays from colliding with gameplay information, use this guide to adding captions to gaming clips quickly alongside your vertical layout decisions.
Leave room in the direction of movement
A reliable composition rule is to give moving subjects space ahead of them. If a character is running right, position them slightly left of centre so they appear to be moving into open space. If an enemy is about to enter from the left, do not crop so tightly that the reveal happens off-screen.
This matters more in vertical video because the frame is narrow. A subject pinned against the edge can make even a good play feel cramped. Moving the crop a little early, rather than reacting after the subject reaches the edge, makes the edit feel smoother and keeps the viewer oriented.
Make captions and overlays work with the vertical frame
Captions improve clarity, especially when a clip includes voice chat, a quick callout or a funny reaction. But captions should support the action rather than cover it. Put them in the clearest available space, use short lines and check that they do not block your game’s lower HUD, dialogue subtitles or interaction prompts.
If the gameplay fills the full vertical frame and there is no safe place for text, consider a different layout. Keeping the original gameplay smaller within the vertical canvas may create a dedicated caption area and preserve more of the action at the same time.
Avoid placing several competing elements on screen at once: large captions, a facecam, animated stickers, a progress bar and the game HUD can turn a short highlight into visual noise. Make one element primary. Usually that is the gameplay moment.
Edit for the moment, not the entire match
Vertical clips are unforgiving of slow setup. Trim the dead time before the action, but leave enough context for viewers to understand why the payoff matters. A clean pattern is: show the threat or setup, keep the decisive action visible, then hold for a brief reaction or confirmation.
For a sudden clutch, that could mean starting one or two seconds before the final engagement. For a funny fail, it may mean starting just before the questionable decision. For a reaction clip, the player’s face or voice response may deserve an extra beat after the gameplay ends.
Speed changes can help remove quiet travel or menu time, but avoid speeding through the exact information a viewer needs to follow. If the story needs a wide view, do not sacrifice it simply to make the footage look more like a standard vertical montage.
A quick workflow for vertical gaming clips
- Save or import the shortest useful section of gameplay rather than editing a full session.
- Create a 9:16 project before you start trimming or adding text.
- Identify the one thing a viewer must see to understand the clip.
- Test a full-height crop first if the action is centred.
- If the subject moves, add a small number of deliberate reframe moves.
- If important action or HUD keeps disappearing, preserve the widescreen frame inside a vertical layout instead.
- Add captions or a webcam only where they improve the story.
- Watch the finished clip on a small preview and check the opening, payoff and final frame.
- Export a vertical version, while keeping the original horizontal clip if it could work elsewhere.
If you capture spontaneous gameplay moments regularly, it also helps to save them with the final destination in mind. A replay capture workflow can give you a quick vertical version for short-form platforms without forcing you to crop your original horizontal material into the same format. Cutscene Replay supports separate horizontal and vertical canvases, replay saving and quick practical edits, which can be useful when you want to turn the same moment into more than one format.
When a vertical crop is the wrong choice
The best vertical gaming clip is not always a tightly cropped one. Keep more of the original frame when the game’s visual language depends on width: tactical maps, squad-based HUDs, split-screen footage, racing lines, sports play development, strategy interfaces and large-scale encounters are common examples.
You can still make these clips feel native to vertical platforms. Use a stacked layout, a restrained background, a facecam or a second detail view—but do not remove the evidence that makes the highlight impressive. Viewers will forgive letterboxing more readily than they will forgive not being able to see what happened.
Common mistakes that cut off the action
- Cropping every clip from the exact centre without checking where the subject is.
- Zooming in until the kill, goal, crash or reveal happens outside the frame.
- Following every tiny movement with animated reframing.
- Covering vital HUD elements with a facecam or captions.
- Using a blurred background that is brighter or more distracting than the main gameplay.
- Forcing a wide tactical moment into a tight vertical crop instead of choosing a layout that preserves the frame.
- Adding effects before verifying that the setup and payoff are both visible.
Final check before you post
Watch the clip once with the sound off. Can you identify the important action from the composition alone? Then watch it with sound on. Do the captions, voice and reaction add context without covering the game? Finally, view it small. Most people will encounter the clip on a phone, so the player, target and payoff need to read without pausing.
Once you have a working vertical edit, save the layout as a starting point for similar games. You may want one template for centred first-person clips, another for wide HUD-heavy games and another for reaction-led moments. That makes it far quicker to turn one session into several usable posts; these gaming content ideas for repurposing a single session can help you plan those variations.

Turn saved moments into vertical clips faster
Try Cutscene Replay when you want to save a moment after it happens, choose a vertical or horizontal canvas, make practical edits and export without managing full-session recordings.
The goal is clarity, not maximum zoom
A strong vertical gaming clip keeps the viewer’s attention on the moment that matters. Sometimes that means a close crop. Sometimes it means reframing the action, keeping the original widescreen view, or building a simple layout around it. Choose the version that preserves the setup and payoff, and your Shorts, TikToks and Reels will feel deliberate rather than squeezed into the wrong shape.