 Download
If your goal is simply to save the last minute of gameplay, OBS Replay Buffer can be a solid choice. But it becomes less straightforward when every saved highlight needs to become two different pieces of content: a 16:9 version for YouTube or a stream highlight, and a 9:16 version for Shorts, TikTok or Reels. Add a facecam, microphone commentary and the need to revise framing later, and the important question is no longer just “which replay buffer saves a clip?” It is “what does that replay buffer preserve, and how much rebuilding will I have to do afterwards?”
The best OBS Replay Buffer alternative with separate source tracks and dual layouts depends on where the friction is in your workflow. Some creators mainly need a better scene setup. Others need a capture workflow that deliberately creates horizontal and vertical compositions at the same time, rather than treating vertical as a crop made after the fact.
The key distinction: a finished replay versus editable capture material
A replay can be saved as one finished, composited video: gameplay, webcam, overlays and audio already combined. That is convenient when the layout is final and you only need a quick trim. It is limiting when your facecam covers an important HUD element, your vertical crop cuts off the action, or your commentary needs different treatment from the game audio.
Separate tracks can mean different things, so check the wording carefully. Audio tracks allow later adjustment of audio elements when they have been recorded separately. Separate visual sources go further: gameplay and camera are retained as individual material, allowing you to reposition, resize or omit the camera during editing instead of being locked into the recorded composition. If post-capture flexibility is your priority, compare the actual files and editing options a tool preserves, not just whether it says it supports “tracks.”
This is especially relevant to replay capture. You are saving a moment after it has happened, often while still playing or streaming. A workflow that forces you to recreate scenes, re-record the moment or manually rebuild the vertical version later defeats much of the benefit of using a replay buffer in the first place.
Where OBS Replay Buffer still makes sense
OBS remains a sensible option when you already have a stable scene collection, are comfortable configuring sources and audio routing, and usually publish one primary format. Its Replay Buffer feature is built for retaining a rolling window and saving the recent moment you choose. For a streamer who wants an occasional landscape highlight that matches the live scene, that may be all that is needed.
- You primarily publish 16:9 clips and are happy with your existing OBS scene.
- Your webcam, overlays and gameplay can remain in one fixed recorded composition.
- You are comfortable maintaining scenes, source routing and any recording configuration yourself.
- Your workflow does not require a separately composed vertical version of every worthwhile replay.
OBS can also be extended and adapted in many ways, but flexibility is not automatically simplicity. Once you need clean gameplay for clips, a broadcast layout for live viewers, independent camera treatment and a vertical deliverable, a capable setup may involve more scene management and more decisions after each saved moment. For a broader look at the OBS-versus-Streamlabs recording question, see OBS vs Streamlabs for recording clips.
Why dual layouts are different from cropping one replay
A 9:16 crop of a 16:9 replay is not automatically a vertical edit. In fast games, the centre of the frame may not contain the action, the HUD, a teammate’s callout or your facecam. Shrinking the entire landscape image into a vertical canvas avoids cropping, but often makes gameplay too small to work well on a phone.
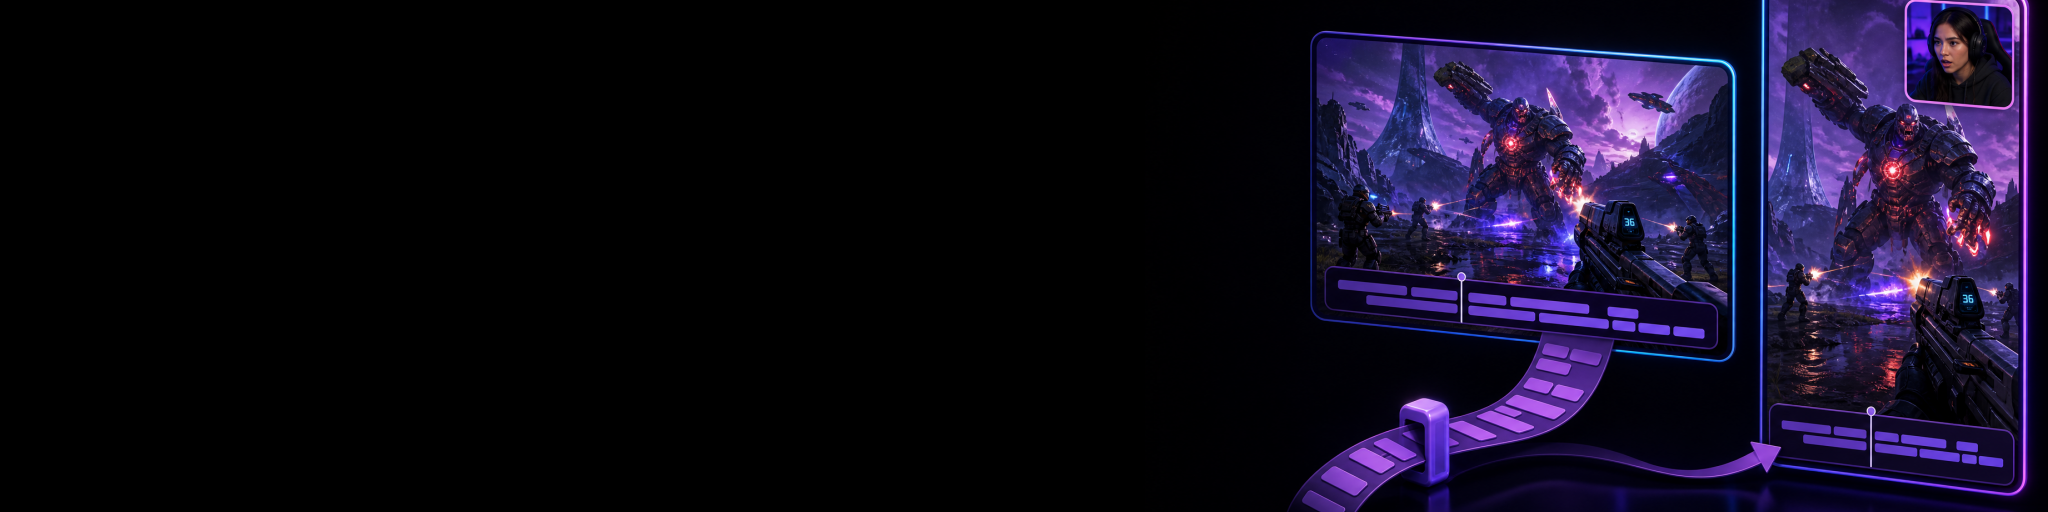
A useful dual-layout workflow gives each format its own composition. In the horizontal version, gameplay can stay wide with a camera in a corner. In the vertical version, the gameplay can occupy the main portrait area while the same camera is moved above or below it. The point is not to make two random exports; it is to make each output intentional for the platform where it will be watched.
This is where Cutscene Replay takes a different approach from a conventional one-canvas replay setup. It can build and save horizontal and vertical versions of the same replay moment simultaneously. Its Horizontal and Vertical canvases have independent layouts, so the portrait output is not merely a centre crop of the landscape output. A webcam can be included as a live source and placed differently in each composition, while microphone audio is captured with the replay.
A practical comparison of replay-capture approaches
1. One replay buffer, one finished layout
This is the simplest route. You save a replay that looks much like your live scene, trim it if necessary and publish it. It works best when the stream presentation is also the desired clip presentation. The trade-off is that the visual decisions made during capture are largely baked into the saved result.
2. OBS with deliberate scene and recording configuration
This approach gives experienced creators substantial control. You can build around the outputs you need, organise sources carefully and use your own editing process after capture. It is a good fit if you prefer configuring a general-purpose production tool and do not mind managing the extra structure needed to support multiple publishing formats.
The practical cost appears when each good moment needs two compositions. You may need to manage separate scenes, make a vertical version after capture, or accept compromises in one format. Whether that is worthwhile depends on how often you actually publish both landscape and portrait clips.
3. Replay capture designed around paired horizontal and vertical clips
This is the more focused option for creators whose normal output is one gaming moment repurposed across platforms. In Cutscene Replay, the same live source session can feed a landscape and portrait canvas, with each canvas arranged independently. That means you can keep gameplay full-width in the horizontal version while giving the vertical version a phone-first composition from the start.
The workflow is direct: arrange the sources you want in the horizontal canvas, arrange the same source inventory appropriately in the vertical canvas, play or stream as usual, then save the replay when the moment happens. The saved moment produces both format-specific outputs rather than leaving one version to be reconstructed later. Learn more about the product workflow at Cutscene Replay.
What “separate source tracks” should mean for your decision
For this comparison, separate source material matters most when you expect to revise the saved highlight. Ask what you might want to change after capture: camera position, crop, on-screen layout, microphone level, game sound or the presence of a particular visual layer.
- If you only need to rebalance sound, independently recorded audio is the key requirement.
- If you need to move a facecam after recording, you need the camera preserved separately from gameplay rather than permanently flattened into the video.
- If you need clean gameplay for clips while keeping an overlay-heavy livestream presentation, consider whether the capture workflow leaves you usable material rather than only the broadcast composite.
- If you need both 16:9 and 9:16 regularly, look for independently composed outputs, not just an automatic crop or a second export preset.
It is worth separating these requirements because no single label covers all of them. “Multi-track,” “separate audio,” “clean feed” and “separate sources” can describe very different levels of editing flexibility. If facecam placement is the issue you are trying to solve, moving a facecam after recording gameplay explains why the original capture structure determines what can be changed later.
When Cutscene Replay is the stronger alternative
Cutscene Replay is the stronger fit when your workflow repeatedly starts with a spontaneous gaming moment and ends with platform-specific clips. Its advantage is not that OBS cannot be configured for complex jobs. It is that Cutscene is purpose-built around preserving the replay moment and preparing horizontal and vertical versions from the same source session with independent compositions.
That is particularly useful for a creator who wants to keep the landscape highlight clean and watchable on YouTube, while using a different vertical framing for phone-first platforms. Instead of treating the second format as an edit you must remember to make later, you set up each format once and capture both when the moment is saved.
The webcam and microphone capabilities also matter here. You can include a live camera source and microphone audio in the replay workflow, then design their place in the horizontal and vertical compositions around the content rather than forcing one layout to serve every platform.

Capture one moment for both formats
Try Cutscene Replay if you want to save spontaneous highlights as independently composed horizontal and vertical clips without rebuilding the second layout after capture.
Choose the workflow that matches your real publishing pattern
Choose OBS Replay Buffer if you are happy with a single primary layout, want a configurable general-purpose tool and do not mind managing the setup that supports your recording process. It remains a practical choice for many creators.
Choose a dual-layout replay workflow if you routinely publish the same moment as both a widescreen highlight and a vertical social clip, and you are tired of making one format work as a compromise for the other. The more often you produce both, the more valuable it becomes to create each layout deliberately at capture time.
And if preserving clean, separately usable gameplay, camera and audio is your central concern, evaluate the capture structure before choosing based on the recorder alone. Choose the right replay source structure for reframing and audio mixing before you commit to a workflow that bakes in decisions you may later want to change.